
A few months ago, I found an adorable apron on Pinterest. It was a typical type of apron, but it had ruffles..and that makes a huge difference. After staring at the picture for a while, I decided to make my own, without a pattern (I like to do things like that way sometimes, it's like a small adventure). My apron turned out good, surprisingly! Since then, I have made several different aprons using the same technique, but they are all so different. The number of ruffles can vary, the pattern and print of the fabrics can change the look of one dramatically, I even changed fabrics in the apron that I will use as an example. But, as always, be creative, daring, and spontaneous with your own...it turns out to be much more fun that way!
.JPG)
So here's the stuff:
-At least 2 yards of fabric, any fabric...really, any. (unless, of course, you want to wash your apron over and over again, then you may want to stick to washable fabrics)
-Thread to match your fabric, or not. It's your choice.
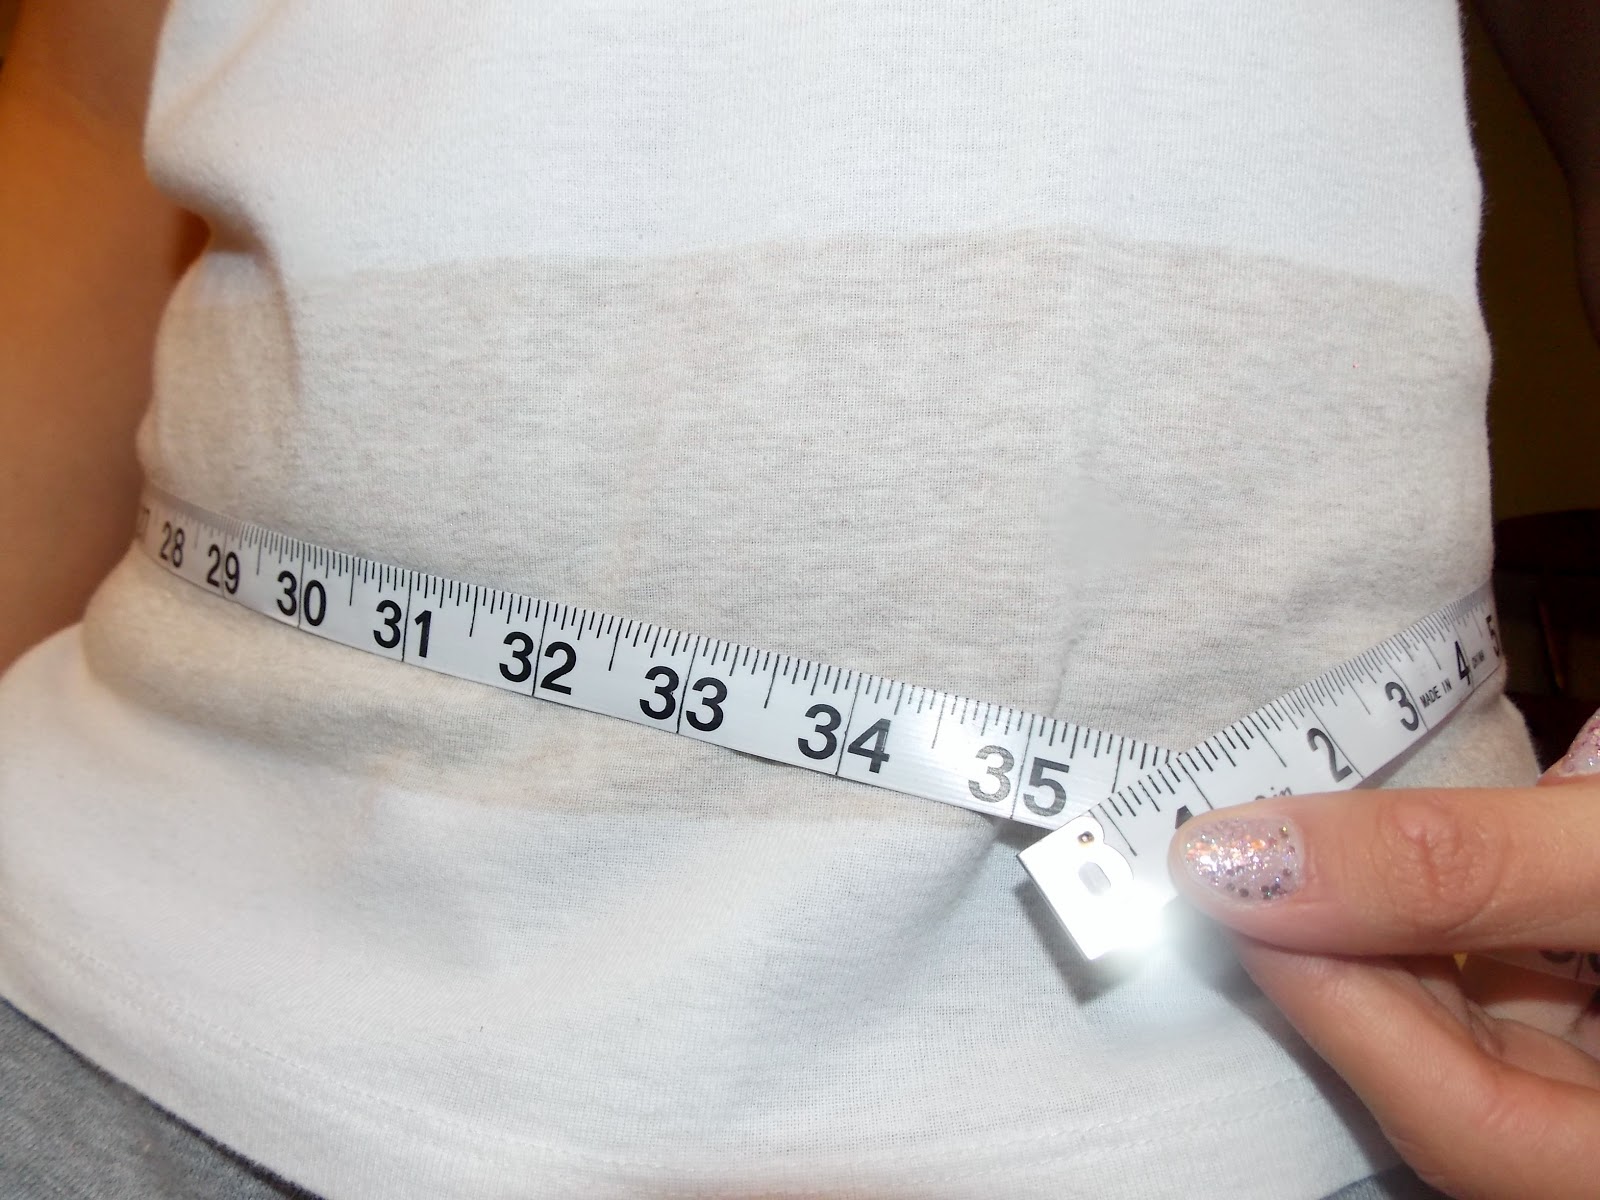
-A measuring tape used to...well...measure. Unless you think you are awesome and don't need one.
-A sewing machine is nice to use also.
Step One:
Choose the order that you want to use your fabrics. You need one as the base of your apron, one or more to use for ruffles, and then one to use for ties and straps. A solid or more neutral color looks nice as a base with more detailed fabrics for the ruffles.
Step Two:
Measure your base fabric. To do this you will need to decide how long you want your apron to be. Measure on yourself so that you will have an accurate measurement and add two inches to that number*.
*You will need that extra fabric so that when you sew the hem you will not lose your length.
Measure around your hips (not waist) for the width and add two inches again. Now subtract 10 inches so that you will not have an apron that will wrap around your entire body...unless you somehow manage to get THAT messy when you cook and need it(:
Next measure your bust. No, not all the way around, but you will want your apron to fit you all the way across across your chest.

Measure exactly how wide you want that portion of your apron. This time you will add 4 inches.
Finally, measure how long you will want your top section to be. This will be the length between the top of your apron and your first ruffle and waist ties. This time add one inch.

Step Three:
Time to start cutting fabric!
First cut your base, I find it easiest to make the entire base one piece instead of cutting top and bottom separate.
(The photo shows the back of the apron already finished, but notice how the base fabric is one piece.)
Next, cut out those pretty ruffles. Use the width that you had to do all the silly math for and now add 6* more inches (that's all the math, I promise) and 12 inches long.
*Add 6, 8, or 10 inches. It depends on how ruffly you want your apron. The wider you make it, the more ruffly it will be, but be sure to add in multiples of 2.
You can do more than one ruffle if you would like, I will guide you through what you would need to do with more if that is what you choose.

Time to cut out those straps! You will need to cut three straps.
1&2 will be identical. They need to be 4 inches wide and about 35 inches long.
The third also needs to be 4 inches wide, but only about 23 inches long. This is the strap that will be at the top of the apron.
Step 4:
Put away the scissors; get out the machine! It's sewing time.
The next few steps will be old news to experienced sewers (which I am not, but I pretend to be).
Base and ruffles- Sew all edges so that the fabric will not start coming apart. You may want to pin the edges down so that it will stay together, but I find it just as easy to iron them down so that I will not have to worry about the pins.
Fold every side down about 1/2 inch and then again 1/2 inch so that the raw edge is inside a "pocket".

***In the picture, I have folded the fabric over much farther than 1/2 inch; this is so that you will understand how to do the folds.
Straps- Fold every strap in half (Width-wise). Fold them inside out so that the back side of the fabric is on the outside.
Sew one end and the length of the strap. Leave one end unsewn.
This step is always my least favorite, but it must be done. We will prevail! Pull the strap from inside out to right side out.
Don't worry about sewing the open end, you will do this when you put the pieces together.
Step 5:
Before we start assembling everything together, we need to sew a few pleats into the top of the apron so that it fits nice.
I find that two 1-inch pleats sewn down make the apron fit perfect.
Fold about 1 inch of the fabric back and sew a few stitches to hold it. Do this to both sides of the top.
Straps & Ties- Sew the top strap to the apron making sure not to let it twist anywhere.
Sew on each of the ties. Make sure that you place the unsewn ends on the apron.

Ruffles- Line up your ruffle evenly with the apron (you will need to pin the ruffles down). Turn the top side in so that the stitch will not be seen. Make 1-inch folds across the ruffle so that it ends up the same length as the apron. Always make the fold toward the outside of the apron (halfway through, you will switch directions).
*If you have made more ruffles, do the exact same things but move the next ruffle about 5 inches down the apron.
That's it! I hope that you were able to read this easily and that you understand it! I must note that I definitely do not call myself a sewer, I don't know the technical words for things, or the "right" way to do things. I have taken what I already know, and taught myself a lot about sewing. Sometimes, that is the best way to learn!
If you have any questions at all, feel free to ask! I will try my best to answer them(:

Here is a little extra-
My fabric was from Schoolhouse Fabrics in Floyd, Va.
My camera has a scratch on the lens, so there is a blurry blob in every picture:(
My sparkly nails are OPI(:
My necklace is from Origami Owl. (Ashley sells them, so talk to her about getting one!)
Thanks so much for reading!
-xoxo Emily
No comments:
Post a Comment